Git is a version control system with that we can track changes in any set of files and can see who makes what changes.
-
Step 1: Install git
-
From linux terminal:
sudo apt-get install git -
Alternative: Adding Git-Bash to Windows Terminal: https://www.timschaeps.be/post/adding-git-bash-to-windows-terminal/ Download Git: https://git-scm.com/download/win]
-
-
Step 2: git configuration
-
Required configuration:
-
git config --global user.name "write_user_name_here"[I use github user name] -
git config --global user.email "use_github_email_here"[we are using github email because later (step 6) on we will create a remote repository in GITHUB]
-
-
Optional:
git config --global core.autocrlf input- Text editors:
git config --global core.editor "nano -w"(you can select any other editors) - make default branch:
git config --global init.defaultBranch main
- Text editors:
-
You can check your settings at any time:
git config --list -
more config info: https://git-scm.com/book/en/v2/Customizing-Git-Git-Configuration
-
-
Step 3: Create a local Git repository
-
3.1: Create new directory where you want to use git version control using
mkdir git_testor if you have an existing working directory (for example "git_test") where you want to use git version control, just "cd" to that directory -cd git_test -
3.2: Covert "git_test" directory as a git repository [a place where Git can store versions of our files] by the following code:
git init- It is important to note that
git initwill create a repository that includes all the subdirectories and their files - check with
ls -aand will see.gitfile in the directory
- It is important to note that
-
- Additional Note (need to clean up this writing):
- what is branch?? - an individual timeline of our project commits.
- When we initialize a repository and start making commits, they are saved to the master branch by default.
- we can add new branches, that alow us to add new features in separate branch (i.e. other version of project code)
- change the default branch to be called
main. This might be the default branch depending on your settings and version of git
`git checkout -b main - create new branch
git branch <new-branch-name> - changing to different branches
git checkout <branch-name> - To go back to the master branch, use this command:
git checkout mastercheck git: `git status
Step 4: track a file/folder using git add and git commit
-
To track the changes in any specific file, you have to
git addthat file.Example:
git add script_prep_each_sample.shfor check versions of a file [script_prep_each_sample.sh] orgit add git_test/for track versions within a directory [git_test]To practice: Follow the steps 1-3, then download the "script_prep_each_sample.sh" in the git_test directory and git add that file using
git add script_prep_each_sample.sh -
Git now knows that it’s supposed to keep track of
script_prep_each_sample.sh, but it hasn’t recorded these changes as a commit yet. For that, we need to run one more command:git commit -m "script_prep_each_sample.sh", here -m stands for message - i.e., the commit message that everyone will see attached to your commit.
Step 5: check the changes
-
make changes in the file [script_prep_each_sample.sh] with nano/vi/any other text editors
-
If we want to know what we’ve done recently, we can ask Git to show us the project’s history using
git log- good_practice: It is good practice to always review (
git diff) our changes before saving them. - save those changes (which we do withgit add) nor have we saved them (which we do withgit commit)
- good_practice: It is good practice to always review (
Additional note:
To avoid having git log cover your entire terminal screen, you can limit the number of commits that Git lists by using -N, where N is the number of commits that you want to view.
git log -1 for showing one commit
git log name_particular_file if you want to see changes in a particular file
We could also use git show which shows us what changes we made at an older commit as well as the commit message, rather than the differences between a commit and our working directory that we see by using git diff.
- git show HEAD~1 file - one for first commit, for second last commit and so on
to see all the commits in brief: `git log --oneline
Check out old version of a file git checkout IDENTIFIER file_name
Step 6: Create a remote repository in GITHUB http://siobhonlegan.com/git-command-line/07-remotes.html
Step 7: push the changes to github
After making the changes,
git add script_prep_each_sample.shgit commit -m script_prep_each_sample.shgit push -u origin master(push to github)
Then you can check the recent changes and who made the changes in github as well.
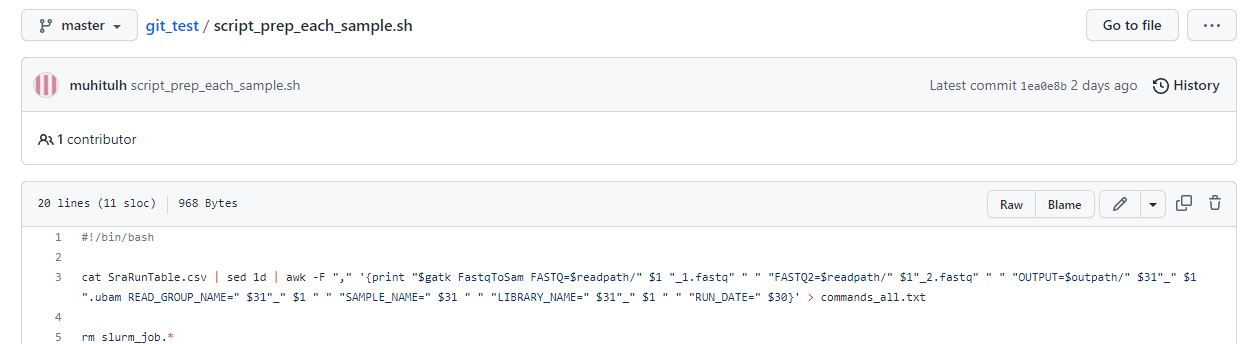
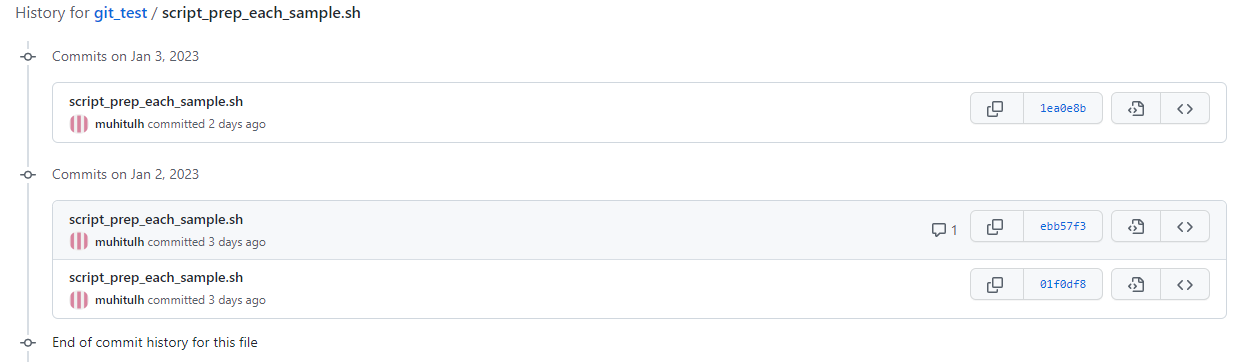
(1) click the file and click "History" on the right top-hand corner [you will see all the commits]
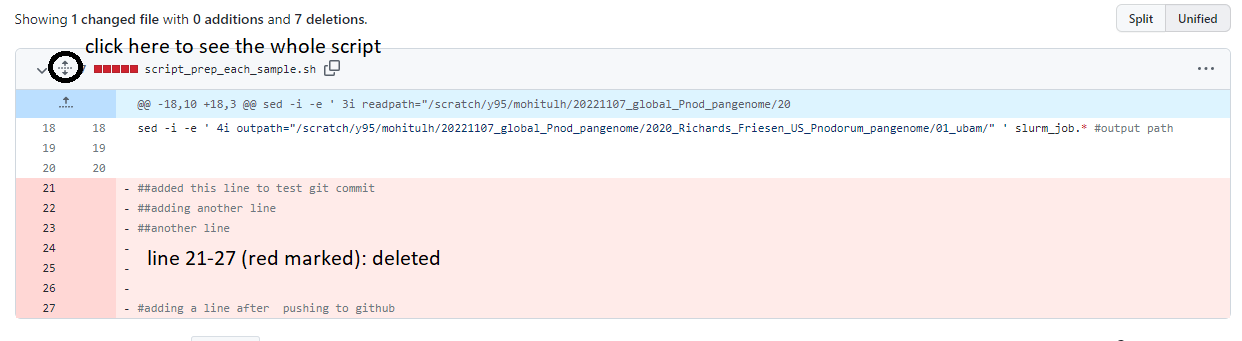
(2) click the commit [it could be recent one]
(3) you will see the additon (with green col) and deletions (with red col) in the file
FAQ (issues I faced)
- You may see error message like "! [rejected] master -> master (fetch first)" during pushing sahred file
- that means probably somebody else has pushed to master already, and your commit is behind. Therefore you have to fetch, merge the changeset, and then you'll be able to push again. so, first
git pullthengit push -u origin master
- that means probably somebody else has pushed to master already, and your commit is behind. Therefore you have to fetch, merge the changeset, and then you'll be able to push again. so, first