


A terminal for JupyterLite.
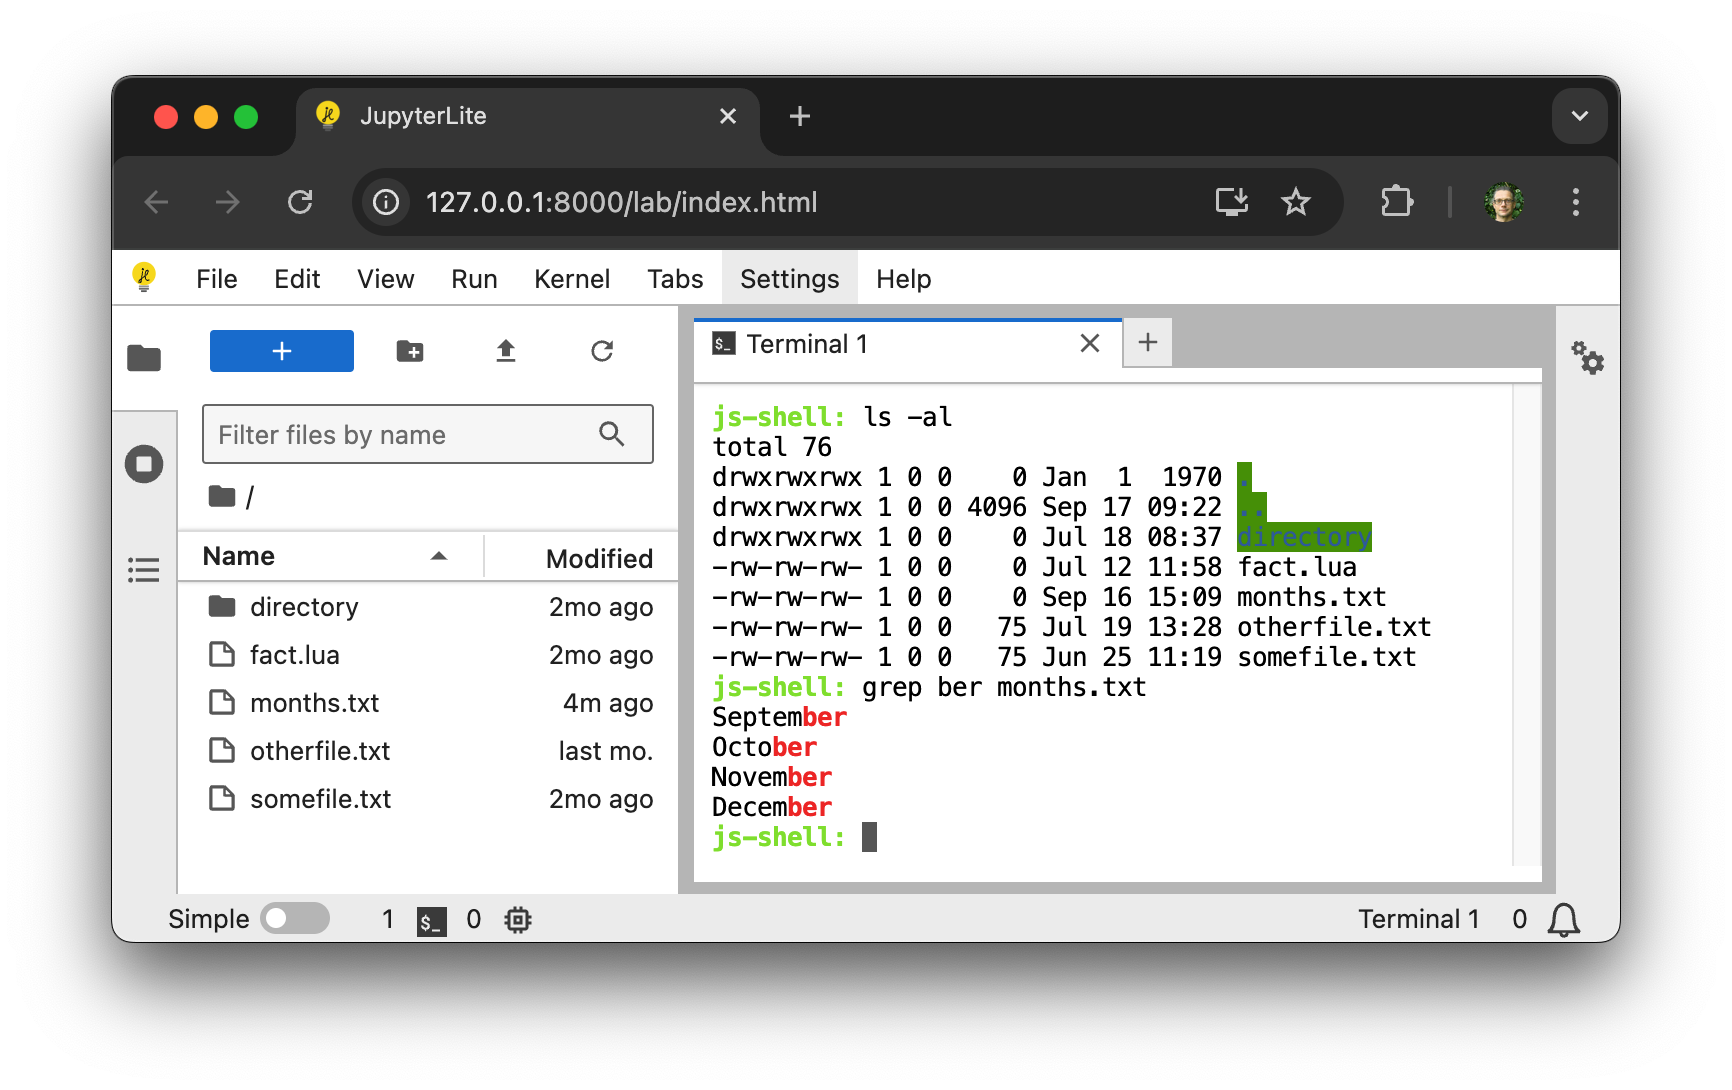
- JupyterLite >= 0.7.0, < 0.9.0
To install the extension, execute:
pip install jupyterlite-terminalYou will also need to install the JupyterLite CLI:
python -m pip install jupyterlite-coreAfter installing jupyterlite-core and jupyterlite-terminal, create a jupyter-lite.json file with the following content to activate the terminal extension:
{
  "jupyter-lite-schema-version": 0,
  "jupyter-config-data": {
    "terminalsAvailable": true
  }
}
Then build a new JupyterLite site:
jupyter lite buildBesides the interactive terminal, the extension registers JupyterLab commands that
run commands in a headless cockle shell: one that captures the output and exit
code without opening a terminal widget. These are useful for other extensions or
automation that need to run shell commands in JupyterLite.
| Command | Description |
|---|---|
@jupyterlite/terminal:execute-shell |
Run a command and return its output and exit code |
@jupyterlite/terminal:start-shell |
Start a reusable headless shell |
@jupyterlite/terminal:shutdown-shell |
Shut down a headless shell by name |
@jupyterlite/terminal:list-shells |
List the running headless shells |
Run a single command (a throwaway shell is created and disposed automatically):
const result = await app.commands.execute('@jupyterlite/terminal:execute-shell', {
  code: 'echo hello'
});
console.log(result.exitCode); // 0
console.log(result.output); // hello
Pass a shellName to reuse a shell across calls so state such as the working
directory persists:
const { shellName } = await app.commands.execute('@jupyterlite/terminal:start-shell');
await app.commands.execute('@jupyterlite/terminal:execute-shell', {
  code: 'cd /drive',
  shellName
});
const result = await app.commands.execute('@jupyterlite/terminal:execute-shell', {
  code: 'pwd',
  shellName
});
console.log(result.output); // /drive
Each command runs as a single cockle pipeline, so |, ; and redirections
(>, >>, 2>, <) work, but &&/||, command substitution and $VAR
expansion are not supported.
Each jupyterlite-terminal release is built against a specific version of cockle. If you need to
include imports from both jupyterlite-terminal and cockle, such as if you are implementing
cockle external commands, you should ensure that you are using the correct version combination.
jupyterlite-terminal |
cockle |
jupyterlite-core |
Release date |
|---|---|---|---|
| 1.6.2 | 1.7.1 | >= 0.7, < 0.9, != 0.7.4, != 0.7.5 | 2026-08-10 |
| 1.6.1 | 1.7.0 | >= 0.7, < 0.9, != 0.7.4, != 0.7.5 | 2026-08-05 |
| 1.6.0 | 1.7.0 | >= 0.7, < 0.9, != 0.7.4, != 0.7.5 | 2026-07-17 |
| 1.5.1 | 1.6.0 | >= 0.7, < 0.9, != 0.7.4, != 0.7.5 | 2026-06-25 |
| 1.5.0 | 1.6.0 | >= 0.7, < 0.9, != 0.7.4, != 0.7.5 | 2026-06-24 |
| 1.4.1 | 1.5.1 | >= 0.7, < 0.8, != 0.7.4, != 0.7.5 | 2026-05-14 |
| 1.4.0 | 1.5.0 | >= 0.7, < 0.8, != 0.7.4, != 0.7.5 | 2026-05-06 |
| 1.3.1 | 1.4.1 | >= 0.7, < 0.8, != 0.7.4 | 2026-03-25 |
| 1.3.0 | 1.4.0 | >= 0.7, < 0.8 | 2026-03-02 |
| 1.2.0 | 1.3.0 | >= 0.7, < 0.8 | 2025-12-03 |
| 1.1.0 | 1.2.0 | >= 0.6, < 0.8 | 2025-10-27 |
| 1.0.1 | 1.0.0 | >= 0.6, < 0.8 | 2025-09-03 |
| 1.0.0 | 1.0.0 | >= 0.6, < 0.7 | 2025-08-11 |
| 0.2.2 | 0.1.3 | >= 0.6, < 0.7 | 2025-06-27 |
Note: You will need NodeJS to build the extension package.
The jlpm command is JupyterLab's pinned version of
yarn that is installed with JupyterLab. You may use
yarn or npm in lieu of jlpm below.
# Clone the repo to your local environment
# Change directory to the jupyterlite_terminal directory
# Install package in development mode
pip install -e "."
# Link your development version of the extension with JupyterLab
jupyter labextension develop . --overwrite
# Rebuild extension Typescript source after making changes
jlpm build
You can watch the source directory and run JupyterLab at the same time in different terminals to watch for changes in the extension's source and automatically rebuild the extension.
# Watch the source directory in one terminal, automatically rebuilding when needed
jlpm watch
# Run JupyterLab in another terminal
jupyter labTo build a JupyterLite distribution with the extension installed:
cd deploy
jupyter lite build --contents contents
And serve it either using:
npx static-handler _output/or:
jupyter lite serveTo enable use of SharedArrayBuffer rather than ServiceWorker for stdin and to access the shared
filesytem you will have to configure your server to add the Cross-Origin-Embedder-Policy and
Cross-Origin-Opener-Policy headers. Do this using either:
npx static-handler --coi _output/or:
jupyter lite serve --LiteBuildConfig.extra_http_headers=Cross-Origin-Embedder-Policy=require-corp --LiteBuildConfig.extra_http_headers=Cross-Origin-Opener-Policy=same-originTo git2cpp clone remote repositories you will need to run a local CORS proxy. The easiest way to
do this is to use the one from the ui-tests. In a separate operating system terminal run:
cd ui-tests
jlpm
jlpm serve:cors-proxy
and then in the JupyterLite terminal in your browser set the GIT_CORS_PROXY environment variable
and try a git2cpp clone:
export GIT_CORS_PROXY=http://localhost:8881/
git clone https://github.com/jupyterlite/terminalThe project documentation includes a demo deployment, and is built on every PR so that the changes can be checked manually before merging. To build the documentation and demo locally use:
micromamba create -f docs/environment-docs.yml
micromamba activate terminal-docs
pip install -v .
cd docs
make html
To serve this locally use:
cd _build/html
python -m http.serverSee RELEASE