Present Tensor in Space
English | 中文
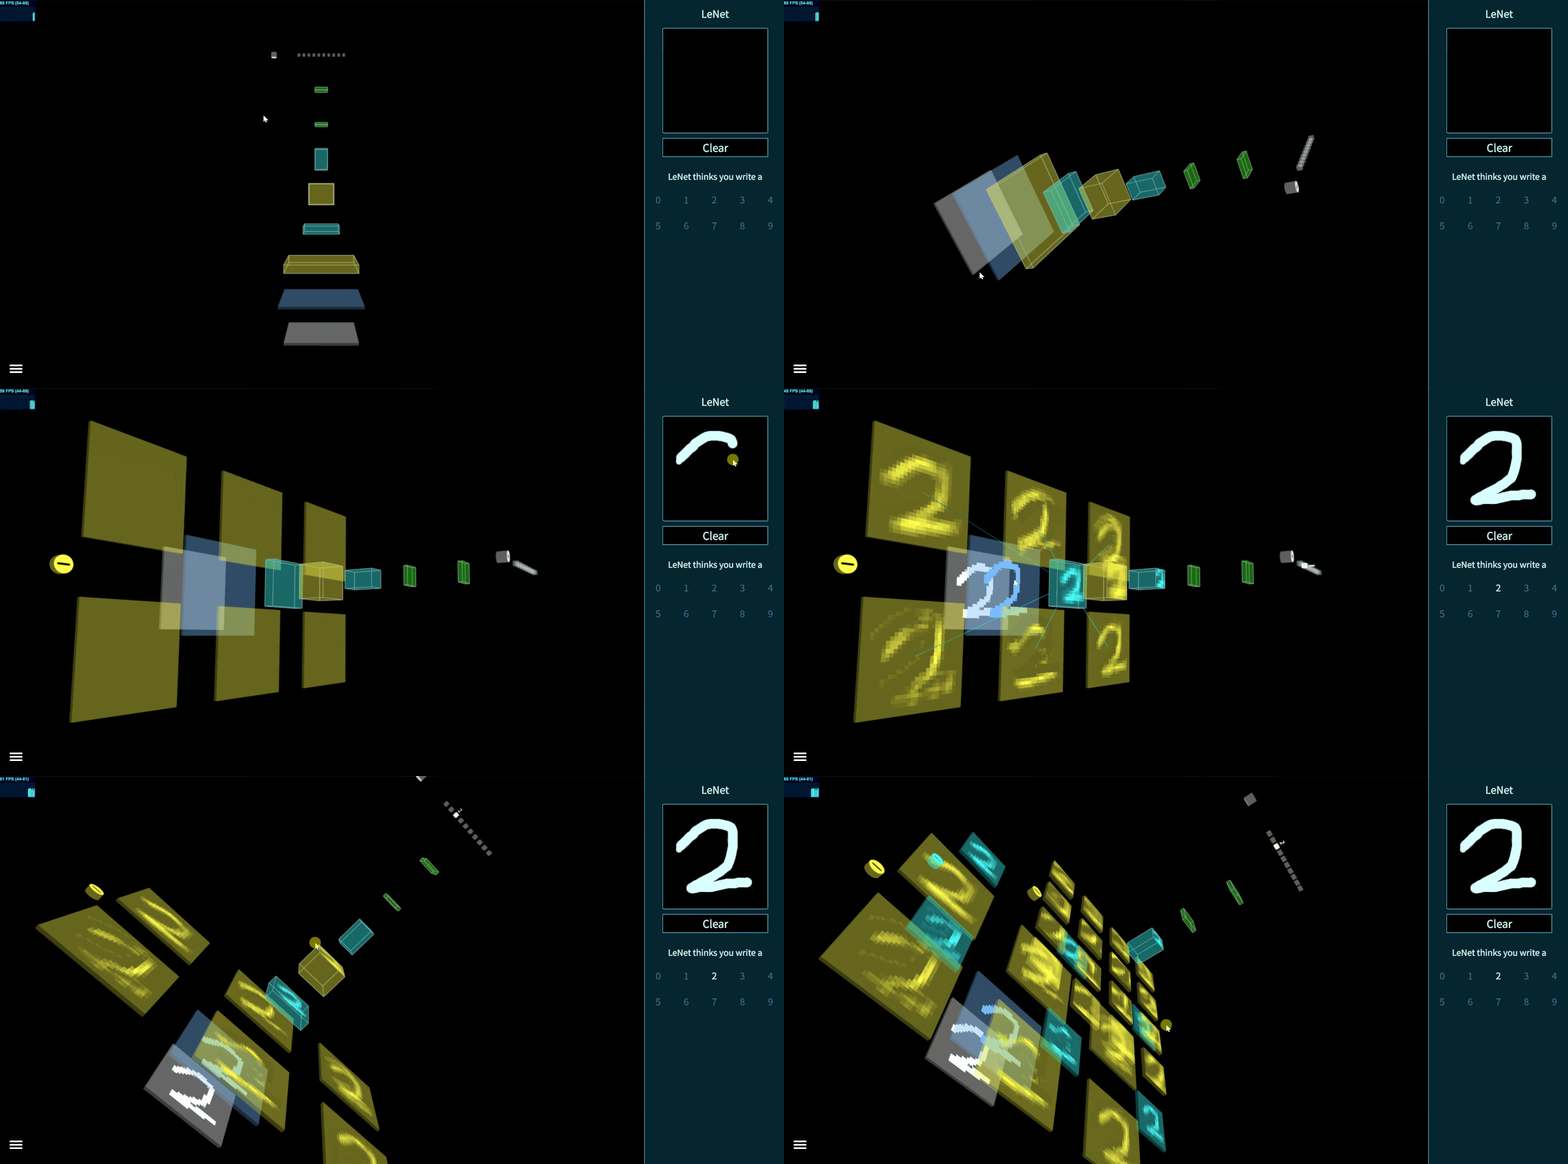
TensorSpace是一套用于构建神经网络3D可视化应用的框架。 开发者可以使用 TensorSpace API,轻松创建可视化网络、加载神经网络模型并在浏览器中基于已加载的模型进行3D可交互呈现。 TensorSpace可以使您更直观地观察神经网络模型,并了解该模型是如何通过中间层 tensor 的运算来得出最终结果的。 TensorSpace 支持3D可视化经过适当预处理之后的 TensorFlow、Keras、TensorFlow.js 模型。
图1 - 使用 TensorSpace 创建的交互式 LeNet 模型
TensorSpace 基于 TensorFlow.js、Three.js 和 Tween.js 开发,用于对神经网络进行3D可视化呈现。通过使用 TensorSpace,不仅仅能展示神经网络的结构,还可以呈现网络的内部特征提取、中间层的数据交互以及最终的结果预测等一系列过程。
通过使用 TensorSpace,可以帮助您更直观地观察、理解、展示基于 TensorFlow、Keras 或者 TensorFlow.js 开发的神经网络模型。 TensorSpace 降低了前端开发者进行深度学习相关应用开发的门槛。 我们期待看到更多基于 TensorSpace 开发的3D可视化应用。
-
交互 -- 使用 Layer API,在浏览器中构建可交互的3D可视化模型。
-
直观 -- 观察并展示模型中间层预测数据,直观演示模型推测过程。
-
集成 -- 支持使用 TensorFlow、Keras 以及 TensorFlow.js 训练的模型。
图2 - TensorSpace 使用流程
- 第一步:下载依赖库
下载依赖库文件 TensorFlow.js (tf.min.js),Three.js (three.min.js),Tween.js (tween.min.js),TrackballControls (TrackballControls.js)。
- 第二步:下载 TensorSpace
可以通过这些途径下载 tensorspace.min.js: Github, NPM, TensorSpace 网站,或者 CDN:
<!-- 将”VERSION”替换成需要的版本 -->
<script src="https://cdn.jsdelivr.net/npm/tensorspace@VERSION/dist/tensorspace.min.js"></script>- 第三步:在页面中引入库文件
<script src="tf.min.js"></script>
<script src="three.min.js"></script>
<script src="tween.min.js"></script>
<script src="TrackballControls.js"></script>
<script src="tensorspace.min.js"></script>-
第一步: 安装 TensorSpace
- 途径一: NPM
npm install tensorspace
- 途径二: Yarn
yarn add tensorspace
-
第二步: 引入 TensorSpace
import * as TSP from 'tensorspace';这个 Angular 样例 具体展示了如何使用。
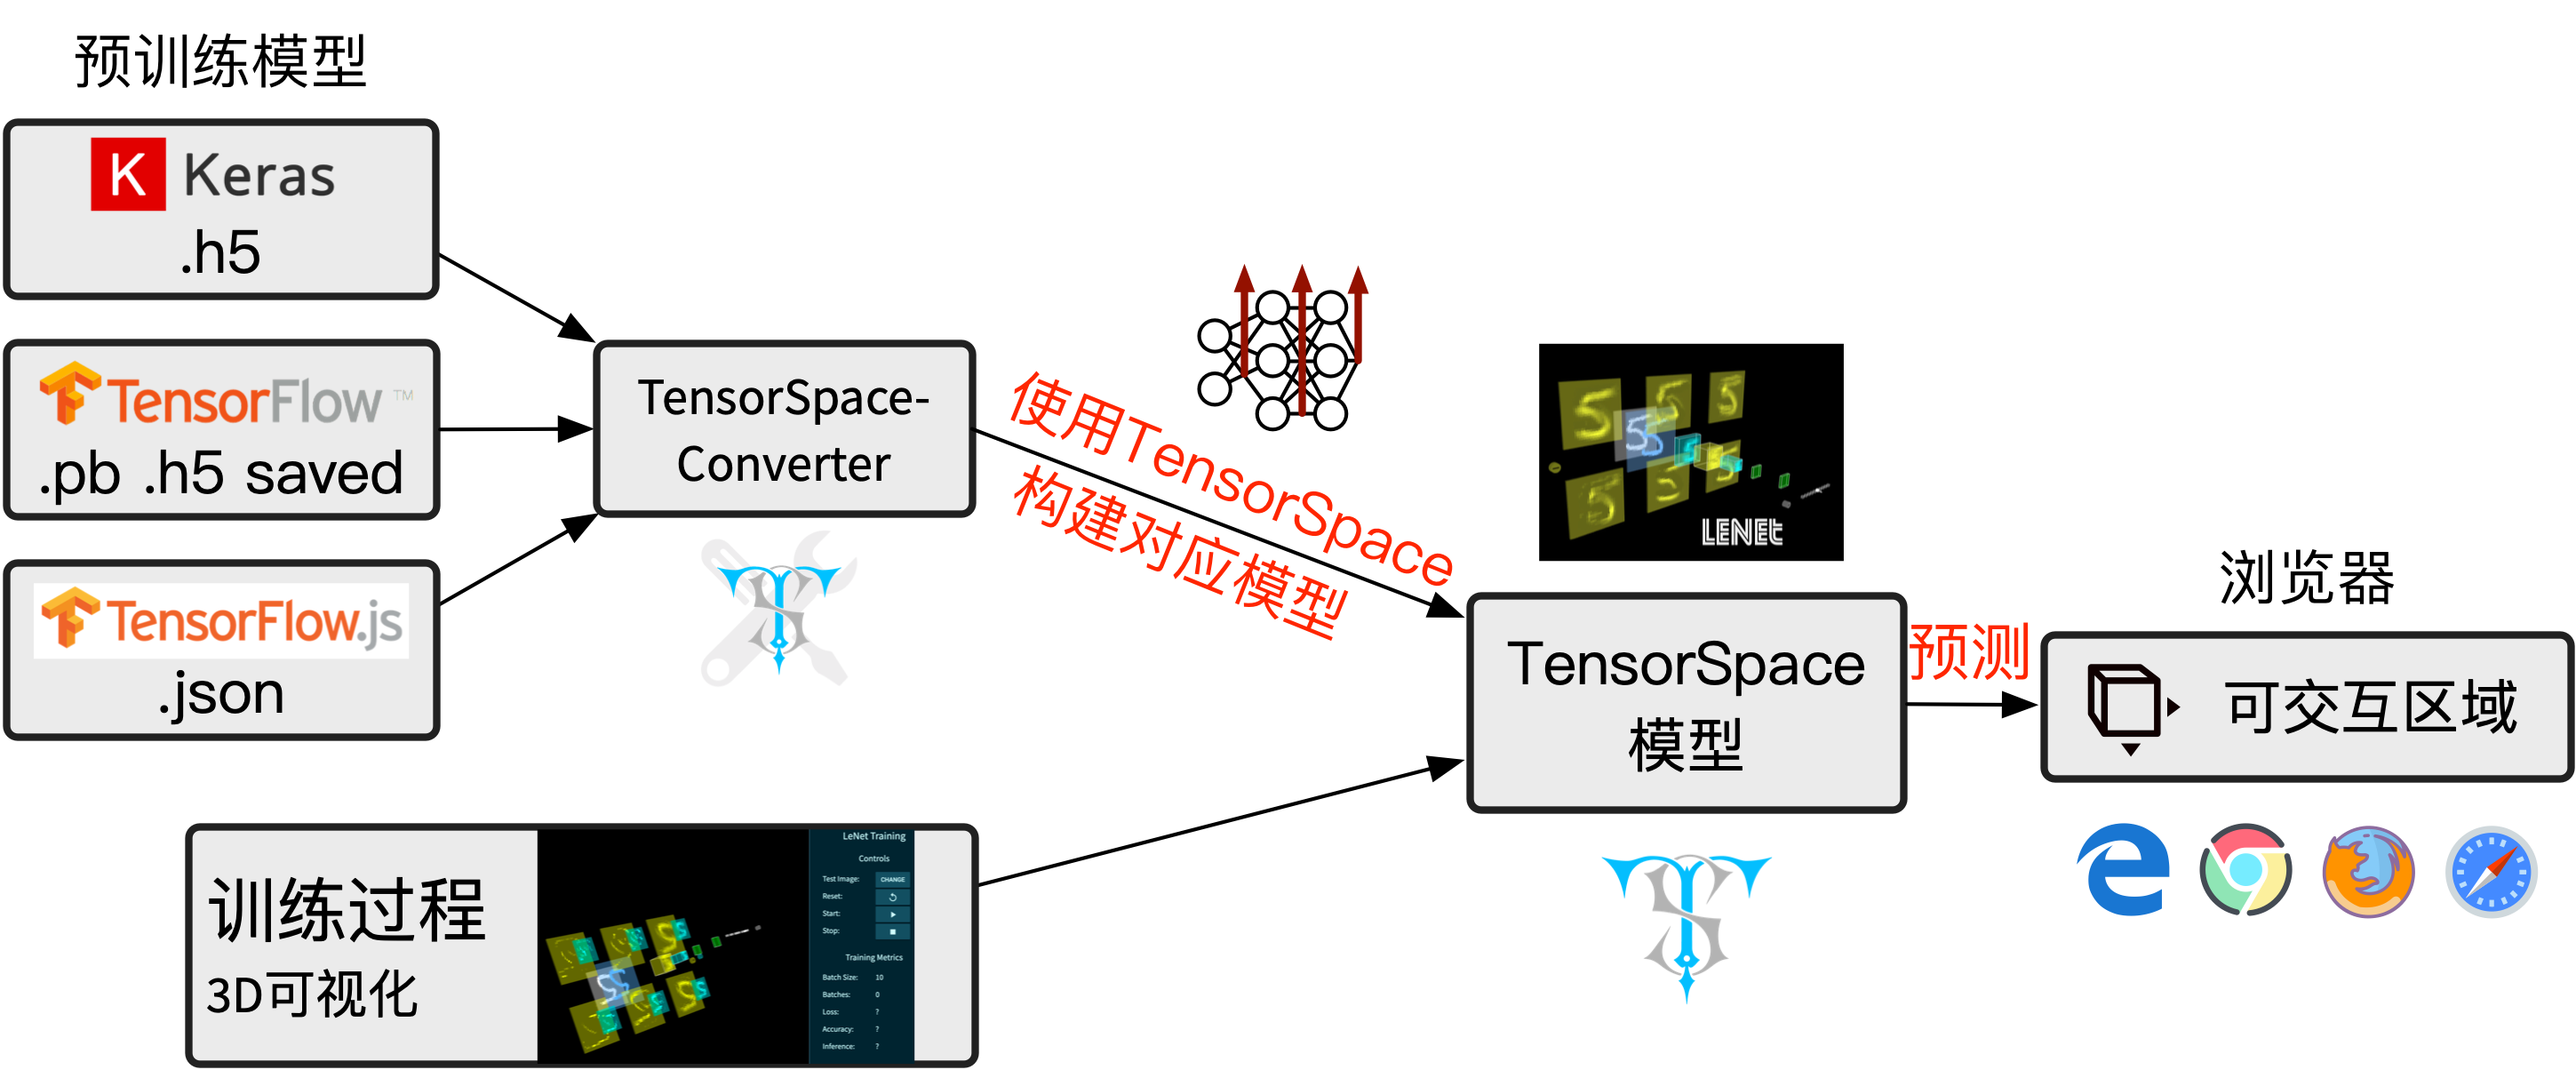
在应用 TensorSpace 可视化之前,需要完成一个重要的步骤————对预训练模型进行预处理(通过 这篇介绍 可以了解更多有关 TensorSpace 预处理的概念与原理)。TensorSpace-Converter 可以帮助开发者快速完成 TensorSpace 预处理过程的辅助工具。
举个例子,如果现在有一个 tf.keras model 的模型,我们可以使用以下 TensorSpace-Converter 转化脚本快速将 tf.keras 模型转化成 TensorSpace 兼容的格式:
$ tensorspacejs_converter \
    --input_model_from="tensorflow" \
    --input_model_format="tf_keras" \
    --output_layer_names="padding_1,conv_1,maxpool_1,conv_2,maxpool_2,dense_1,dense_2,softmax" \
    ./PATH/TO/MODEL/tf_keras_model.h5 \
    ./PATH/TO/SAVE/DIR
注意:
- 在使用 TensorSpace-Converter 对预训练的模型进行预处理之前,需要下载
tensorspacejs的 pip 包,并且配置 TensorSpace-Converter 的运行环境。 - 基于不同的机器学习库,我们提供了 TensorFlow 模型预处理教程,Keras 模型预处理教程,TensorFlow.js 模型预处理教程。
- 查看 TensorSpace-Converter 仓库 了解更多有关 TensorSpace-Converter 的使用细节。
图3 - TensorSpace-Converter 使用流程
在成功安装完成 TensorSpace 并完成神经网络模型预处理之后,我们可以来创建一个3D TensorSpace 模型。
我们将使用 HelloWorld 路径下的资源,其中包括适配 TensorSpace 的预处理模型 以及样例输入数据(“5”)作为使用样例来进行说明。所有的源码都可以在 helloworld.html 文件中找到。
首先,我们需要新建一个 TensorSpace 模型实例:
let container = document.getElementById( "container" );
let model = new TSP.models.Sequential( container );
然后,基于 LeNet 网络的结构:输入层 + Padding2d层 + 2 X (Conv2D层 & Maxpooling层) + 3 X (Dense层),我们可以搭建其模型结构:
model.add( new TSP.layers.GreyscaleInput() );
model.add( new TSP.layers.Padding2d() );
model.add( new TSP.layers.Conv2d() );
model.add( new TSP.layers.Pooling2d() );
model.add( new TSP.layers.Conv2d() );
model.add( new TSP.layers.Pooling2d() );
model.add( new TSP.layers.Dense() );
model.add( new TSP.layers.Dense() );
model.add( new TSP.layers.Output1d({
    outputs: ["0", "1", "2", "3", "4", "5", "6", "7", "8", "9"]
}) );最后,我们需要载入经过预处理的 TensorSpace 适配模型并使用init()方法来创建模型对象:
model.load({
    type: "tensorflow",
    url: './PATH/TO/MODEL/model.json'
});
model.init(function(){
    console.log("Hello World from TensorSpace!");
});
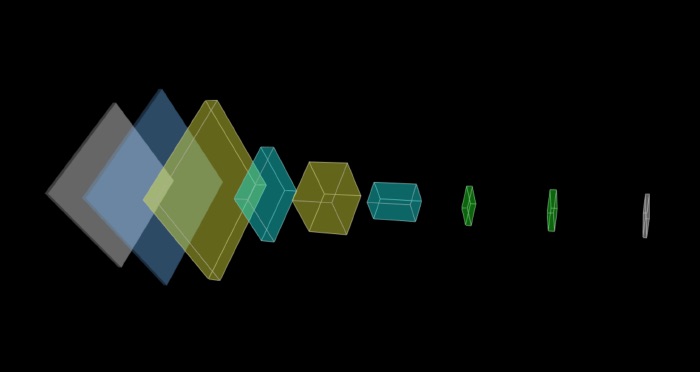
我们可以在浏览器中看到以下模型:
图4 - 所创建的 LeNet 模型 (无输入数据)
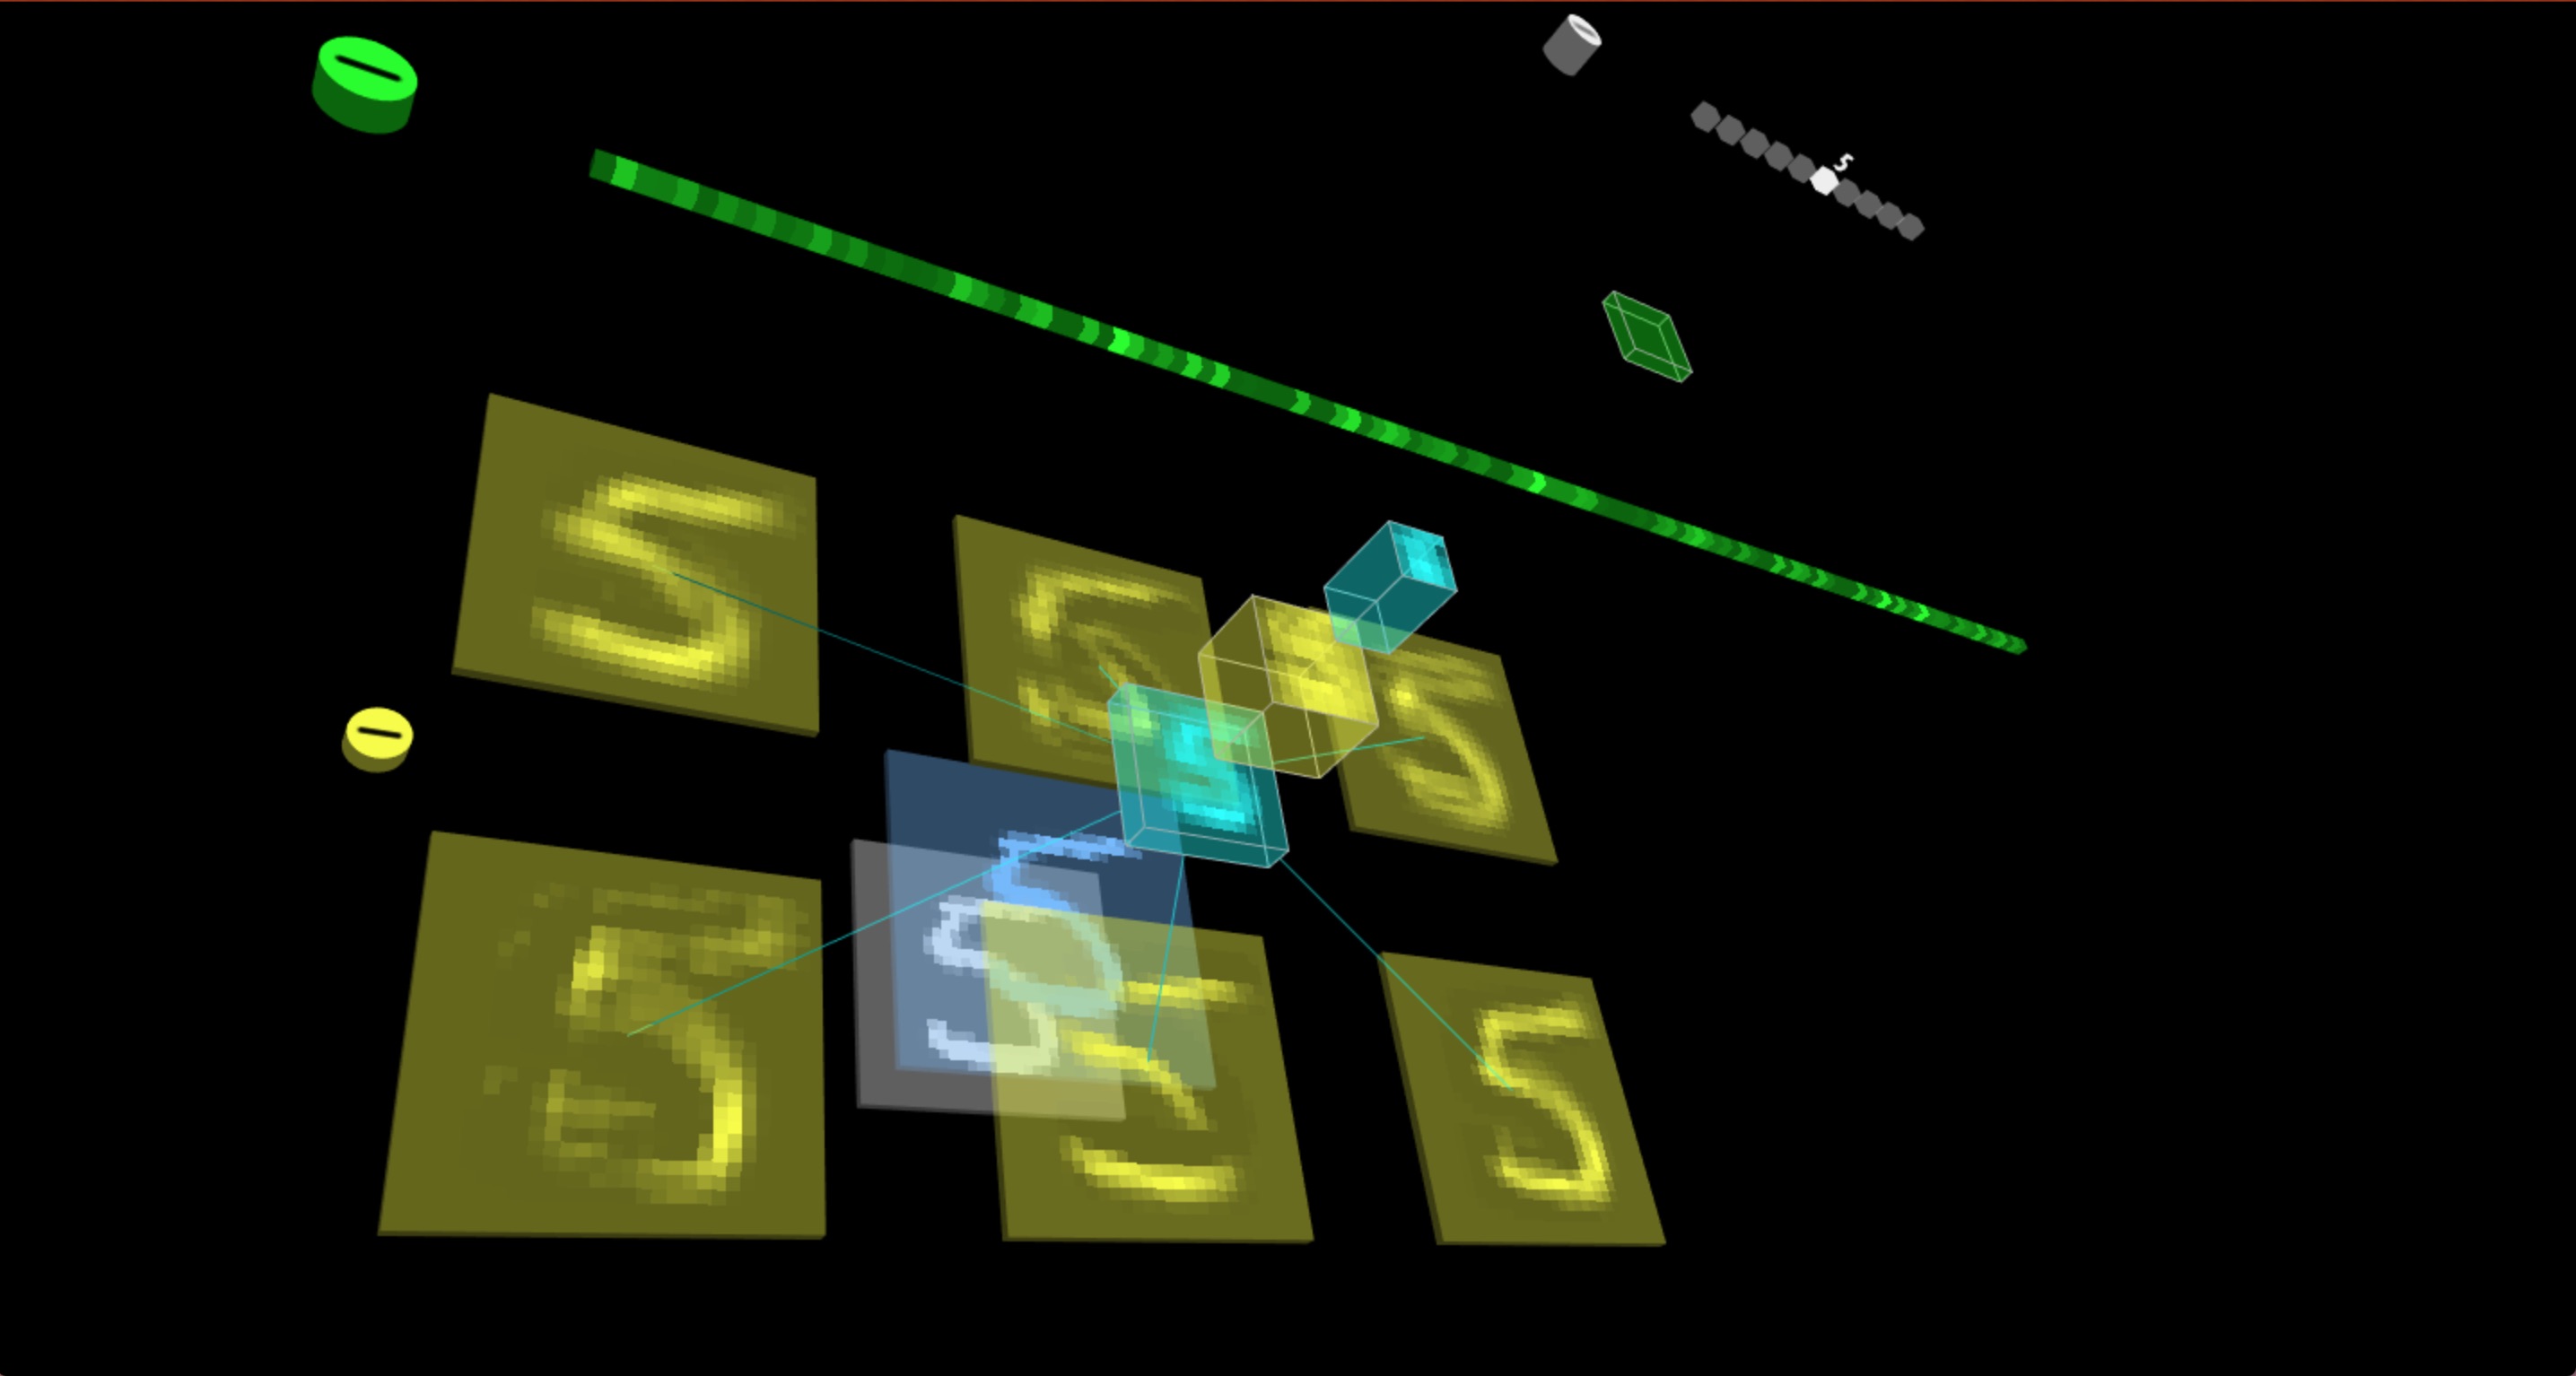
我们可以使用我们已经提取好的手写“5”作为模型的输入:
model.init(function() {
    model.predict( image_5 );
});
我们在这里将预测方法放入init()的回调函数中以确保预测在初始化完成之后进行(在线演示)。
点击后面这个CodePen logo来在CodePen中试一下这个例子吧 ~
图5 - LeNet 模型判别输入 “5”
- LeNet [ TensorFlow.js 模型 ]
图6 - 使用 TensorSpace 构建 LeNet
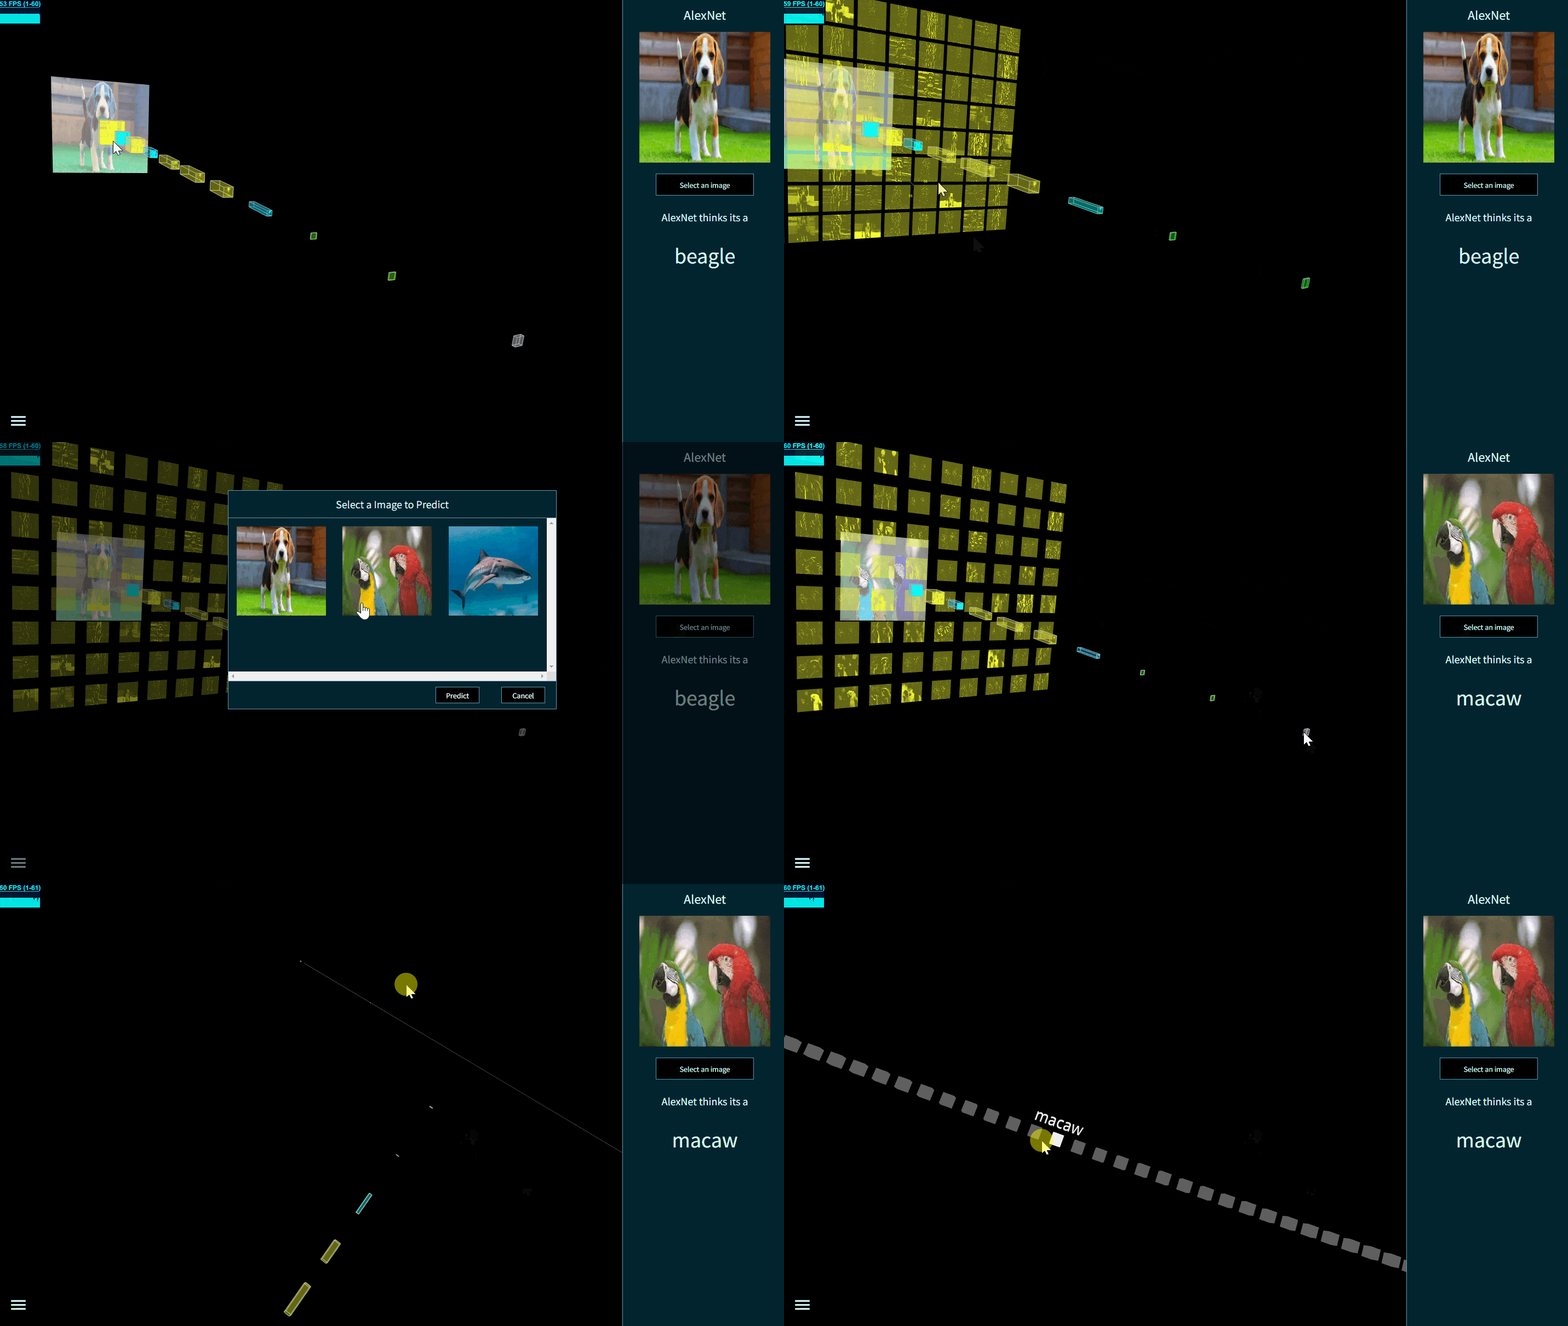
- AlexNet [ TensorFlow 模型 ]
图7 - 使用 TensorSpace 构建 AlexNet
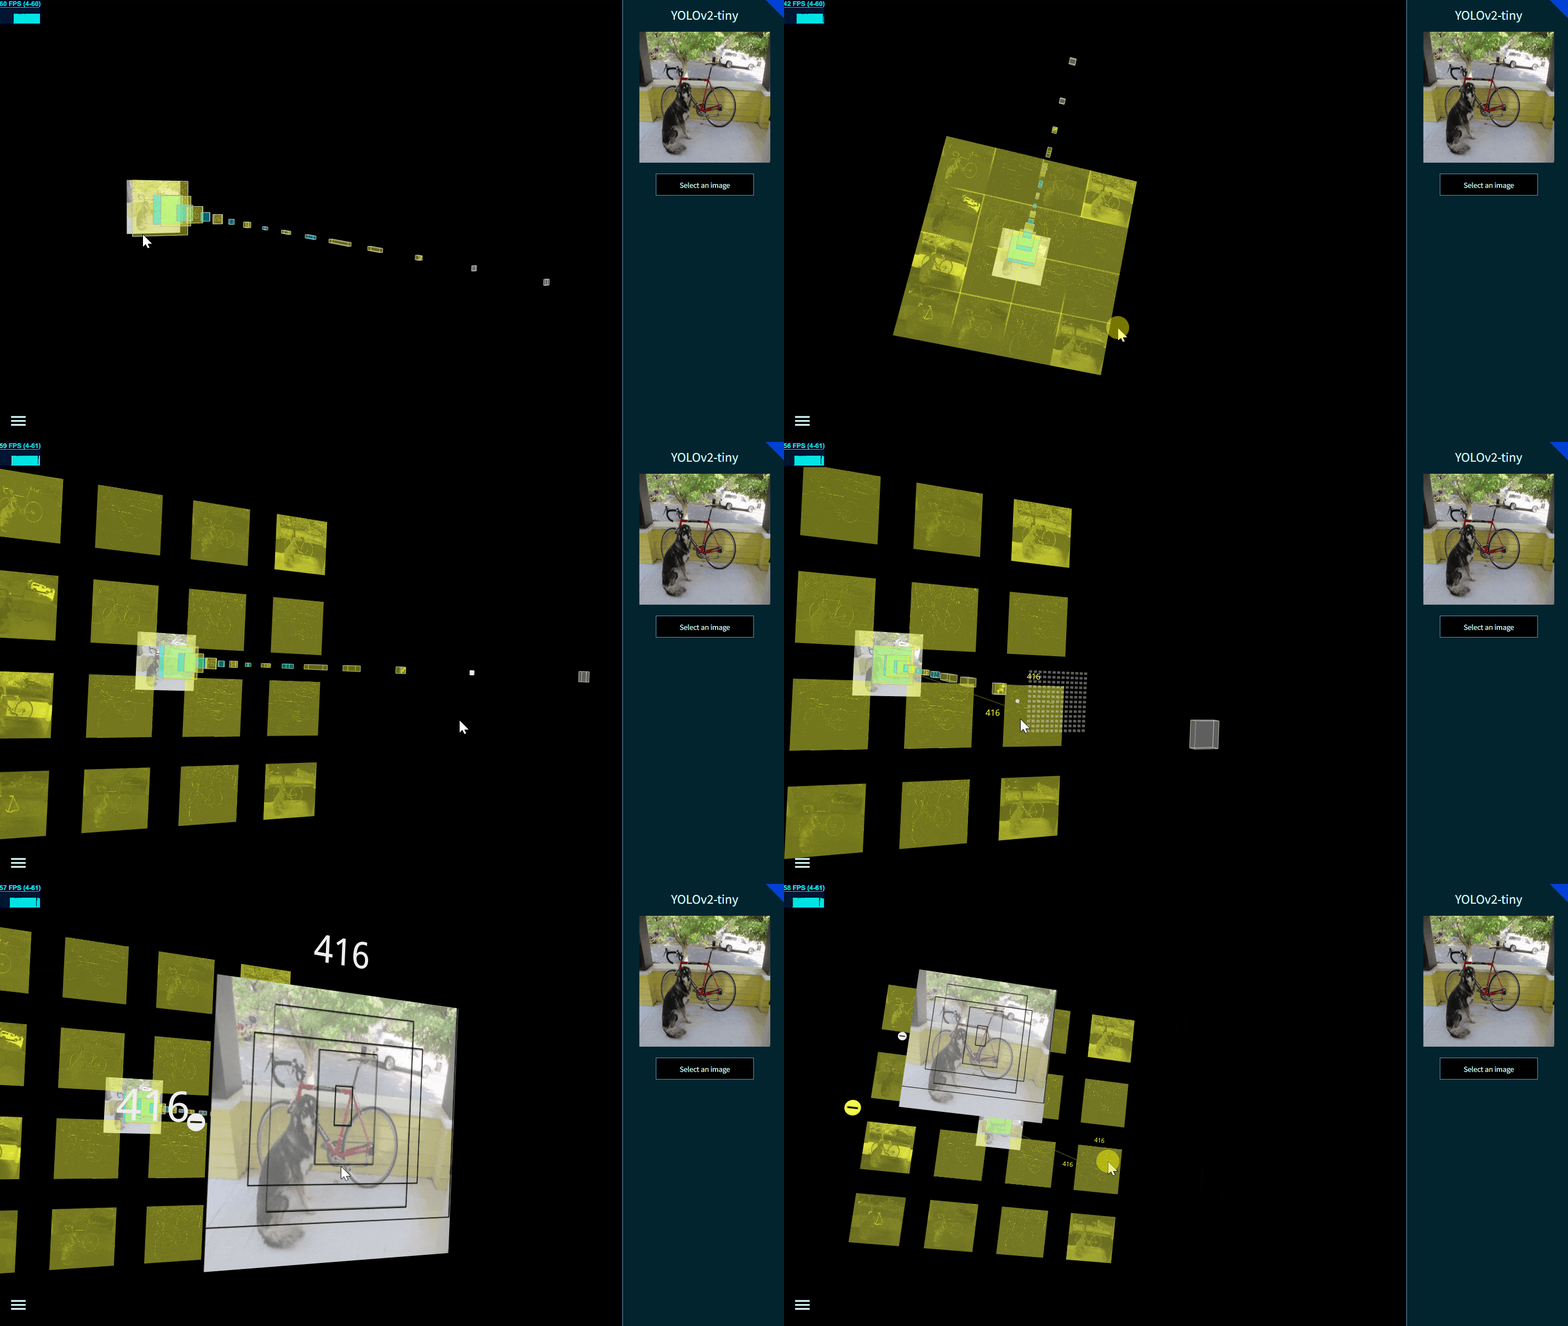
- Yolov2-tiny [ TensorFlow 模型 ]
图8 - 使用 TensorSpace 构建 YOLO-v2-tiny
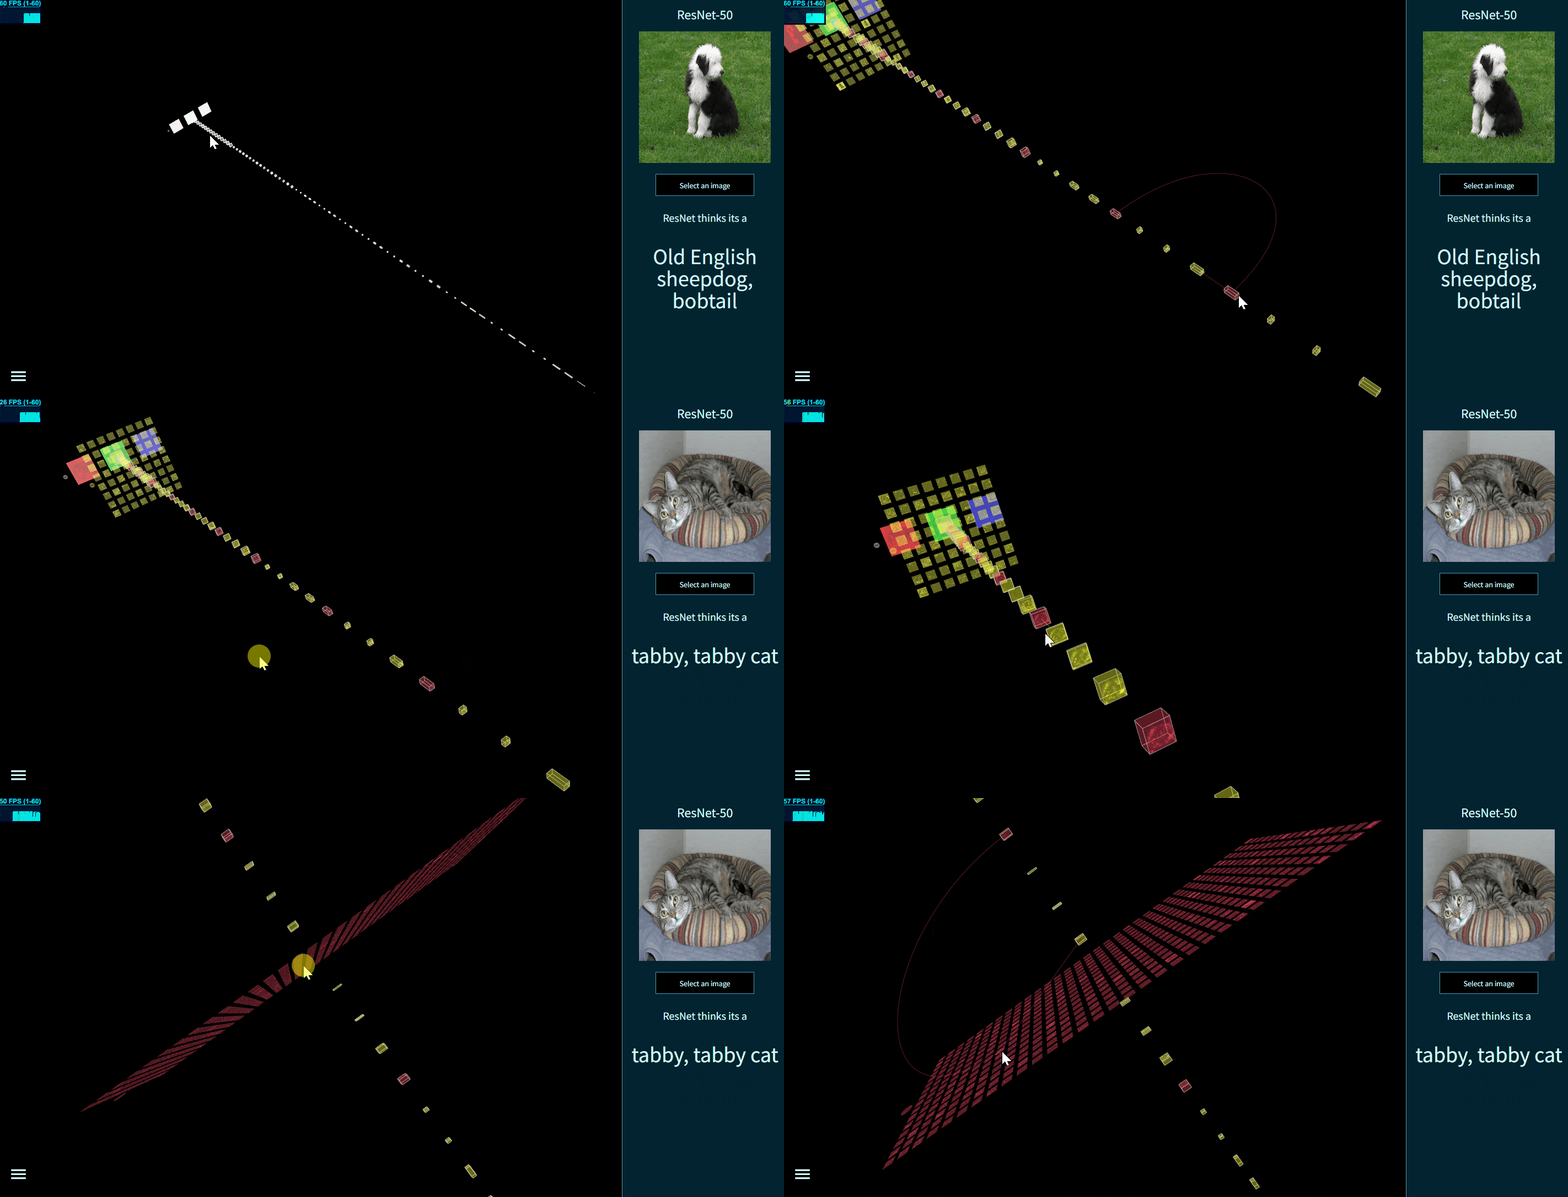
- ResNet-50 [ Keras 模型 ]
图9 - 使用 TensorSpace 构建 ResNet-50
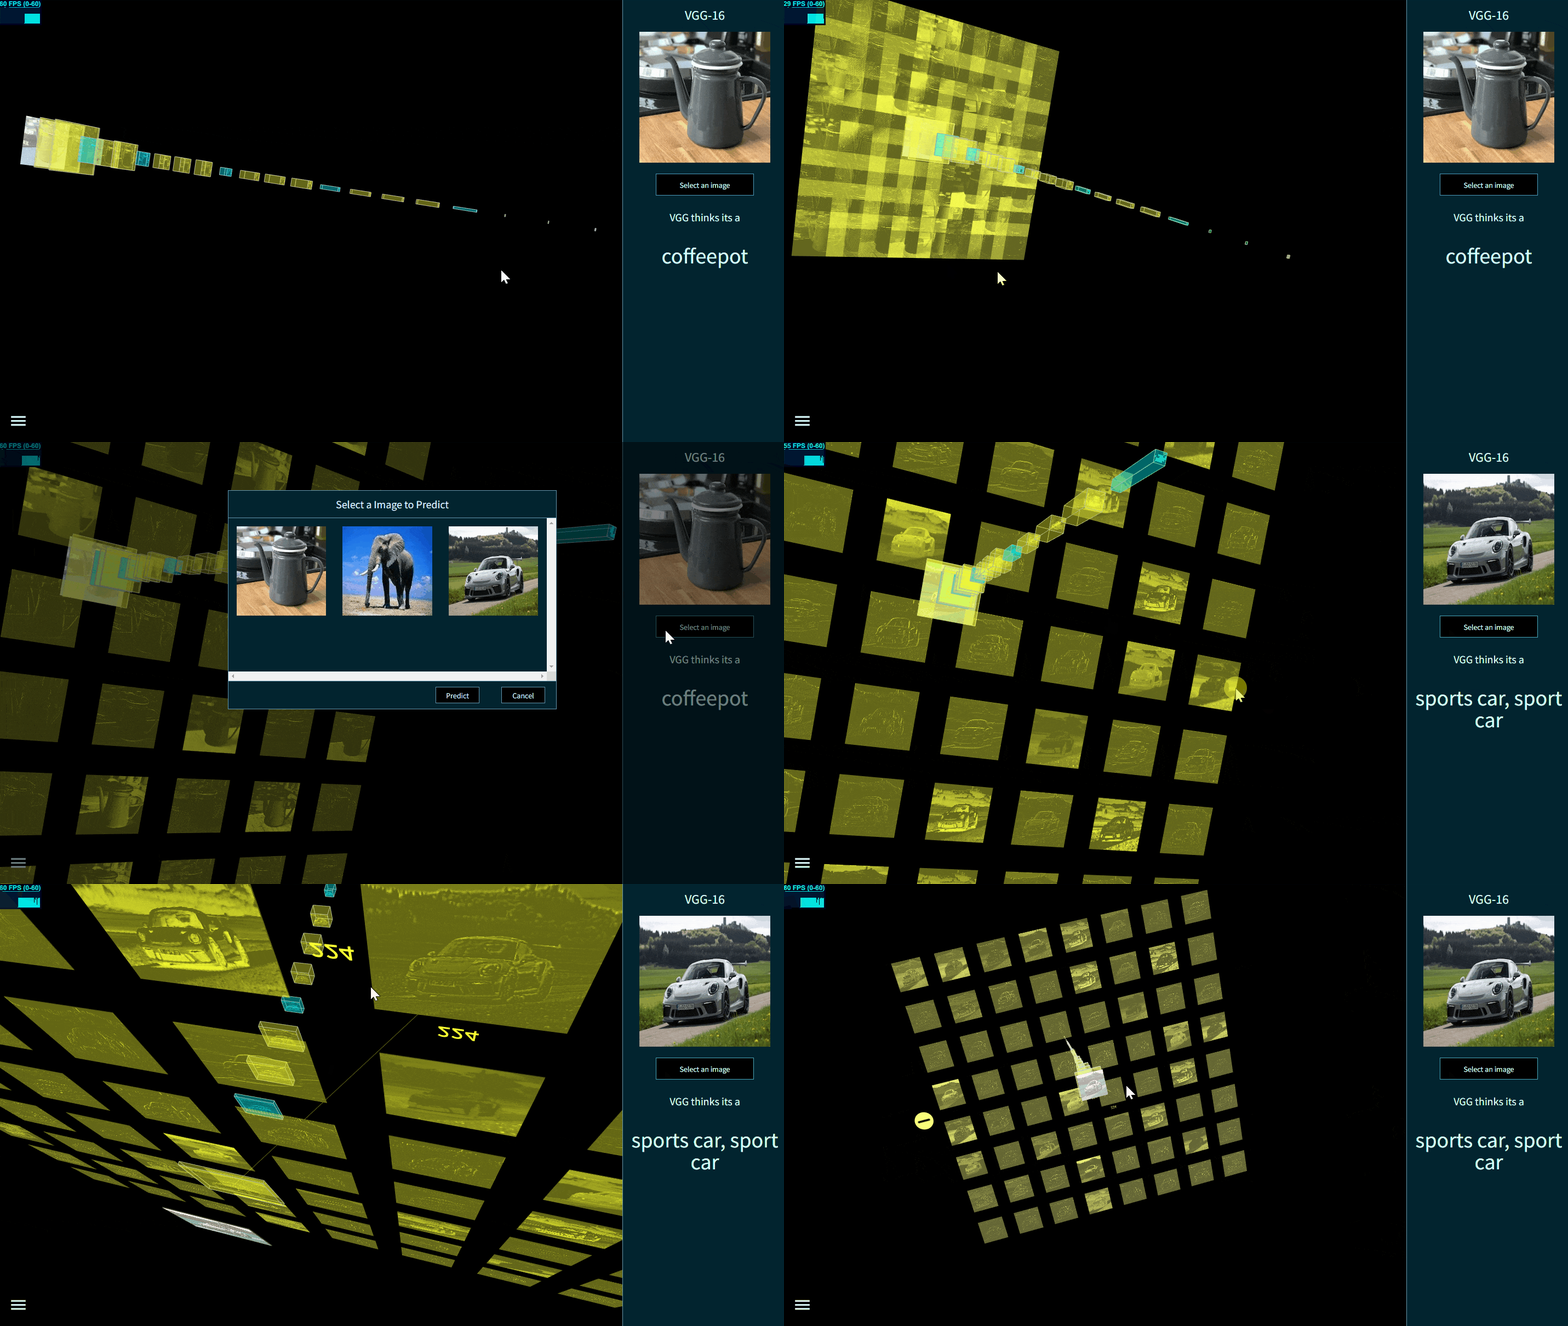
- Vgg16 [ Keras 模型 ]
图10 - 使用 TensorSpace 构建 VGG-16
- ACGAN [ Keras 模型 ]
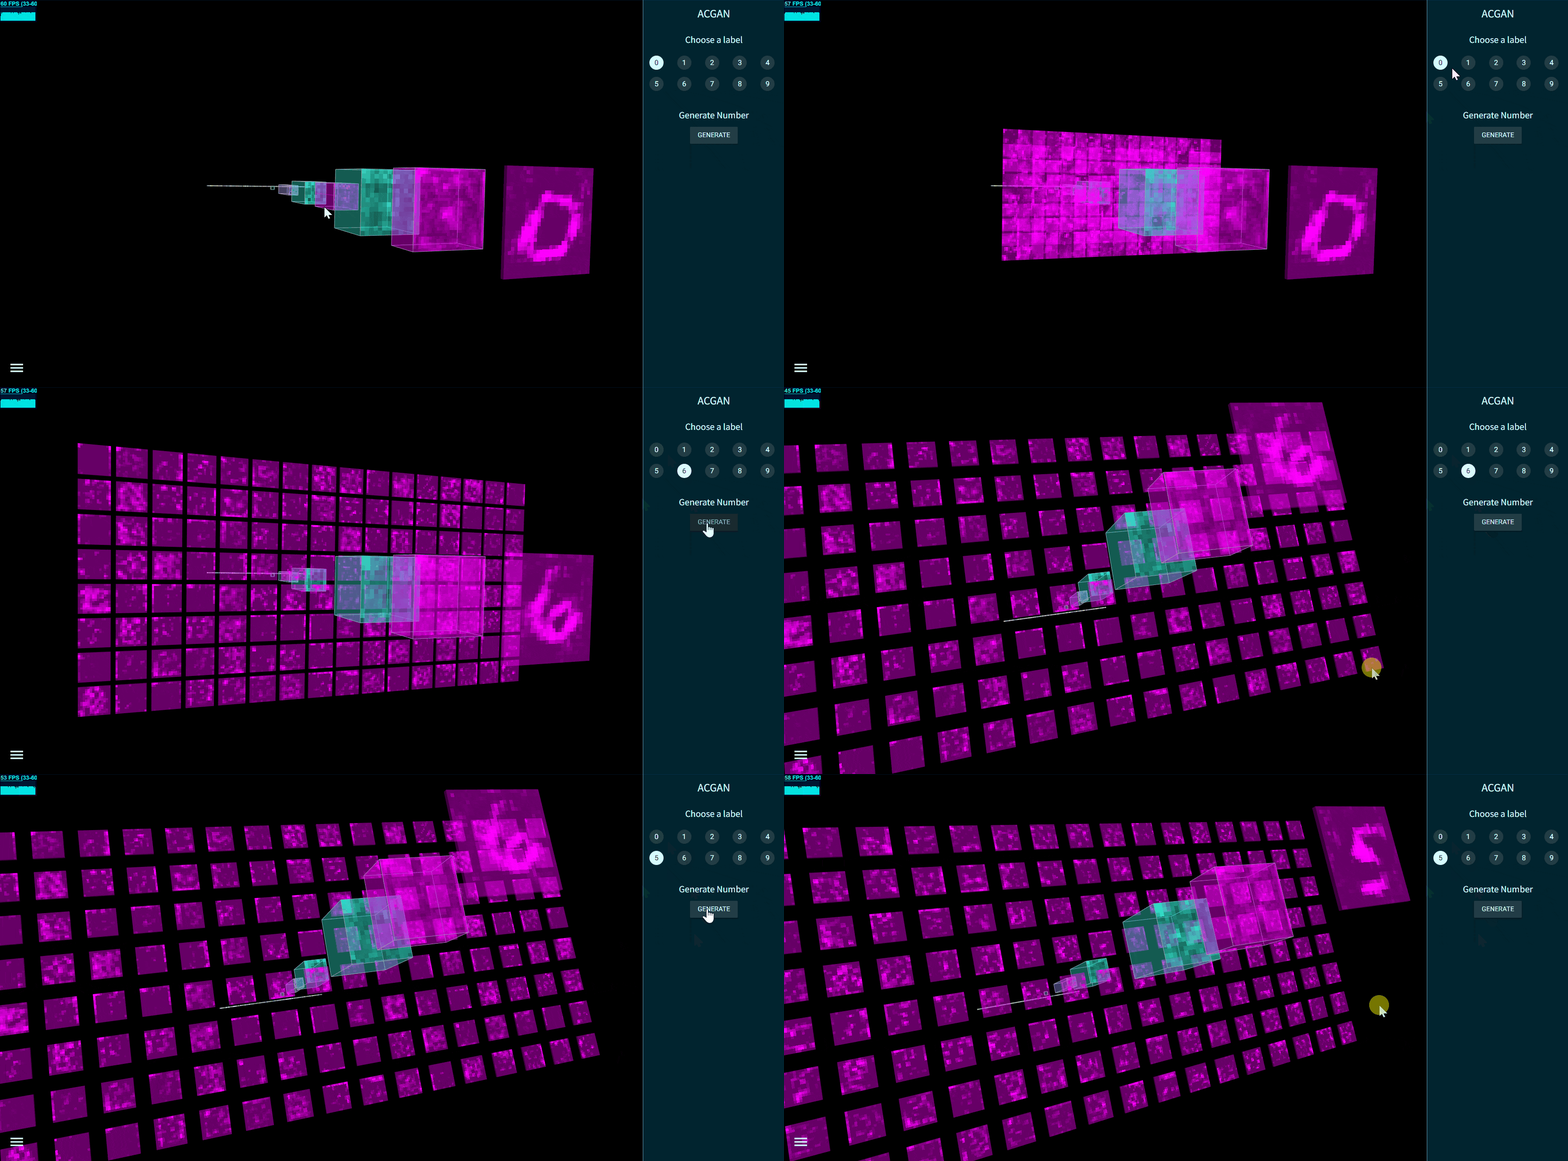
图11 - 使用 TensorSpace 构建 ACGAN 生成网络
- MobileNetv1 [ Keras 模型 ]
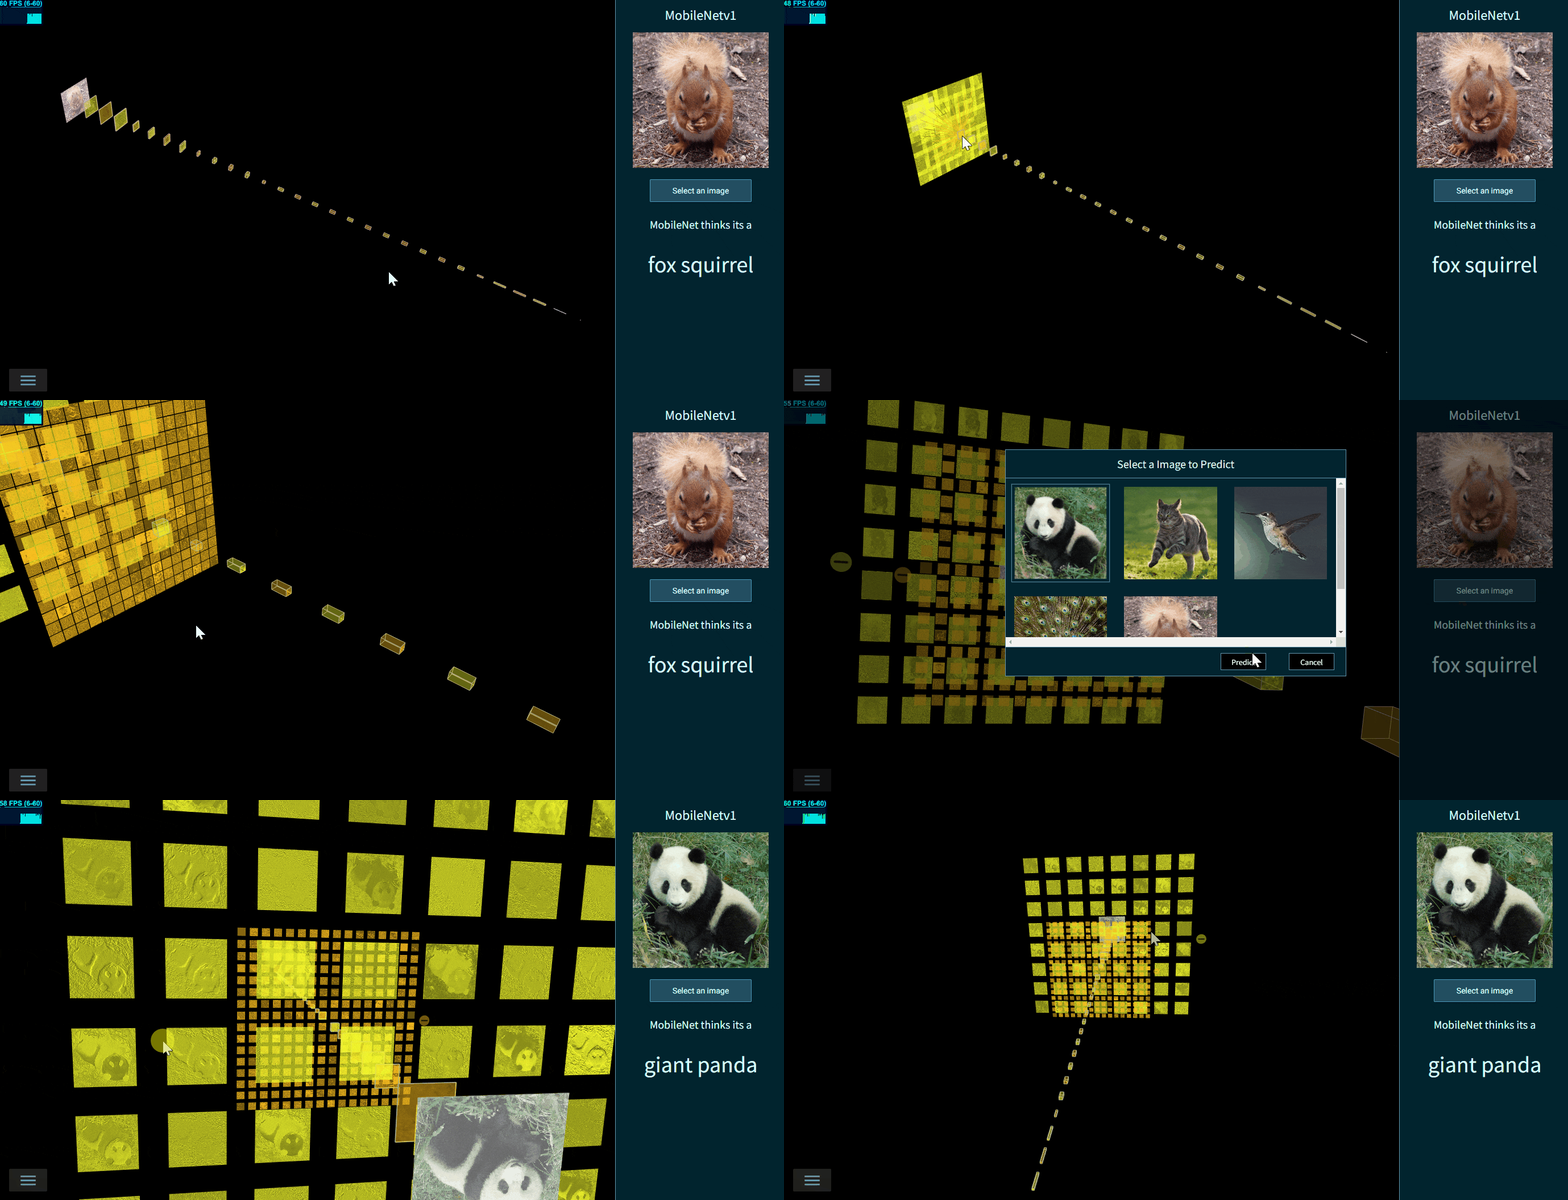
图12 - 使用 TensorSpace 构建 MobileNetv1
- Inceptionv3 [ Keras 模型 ]
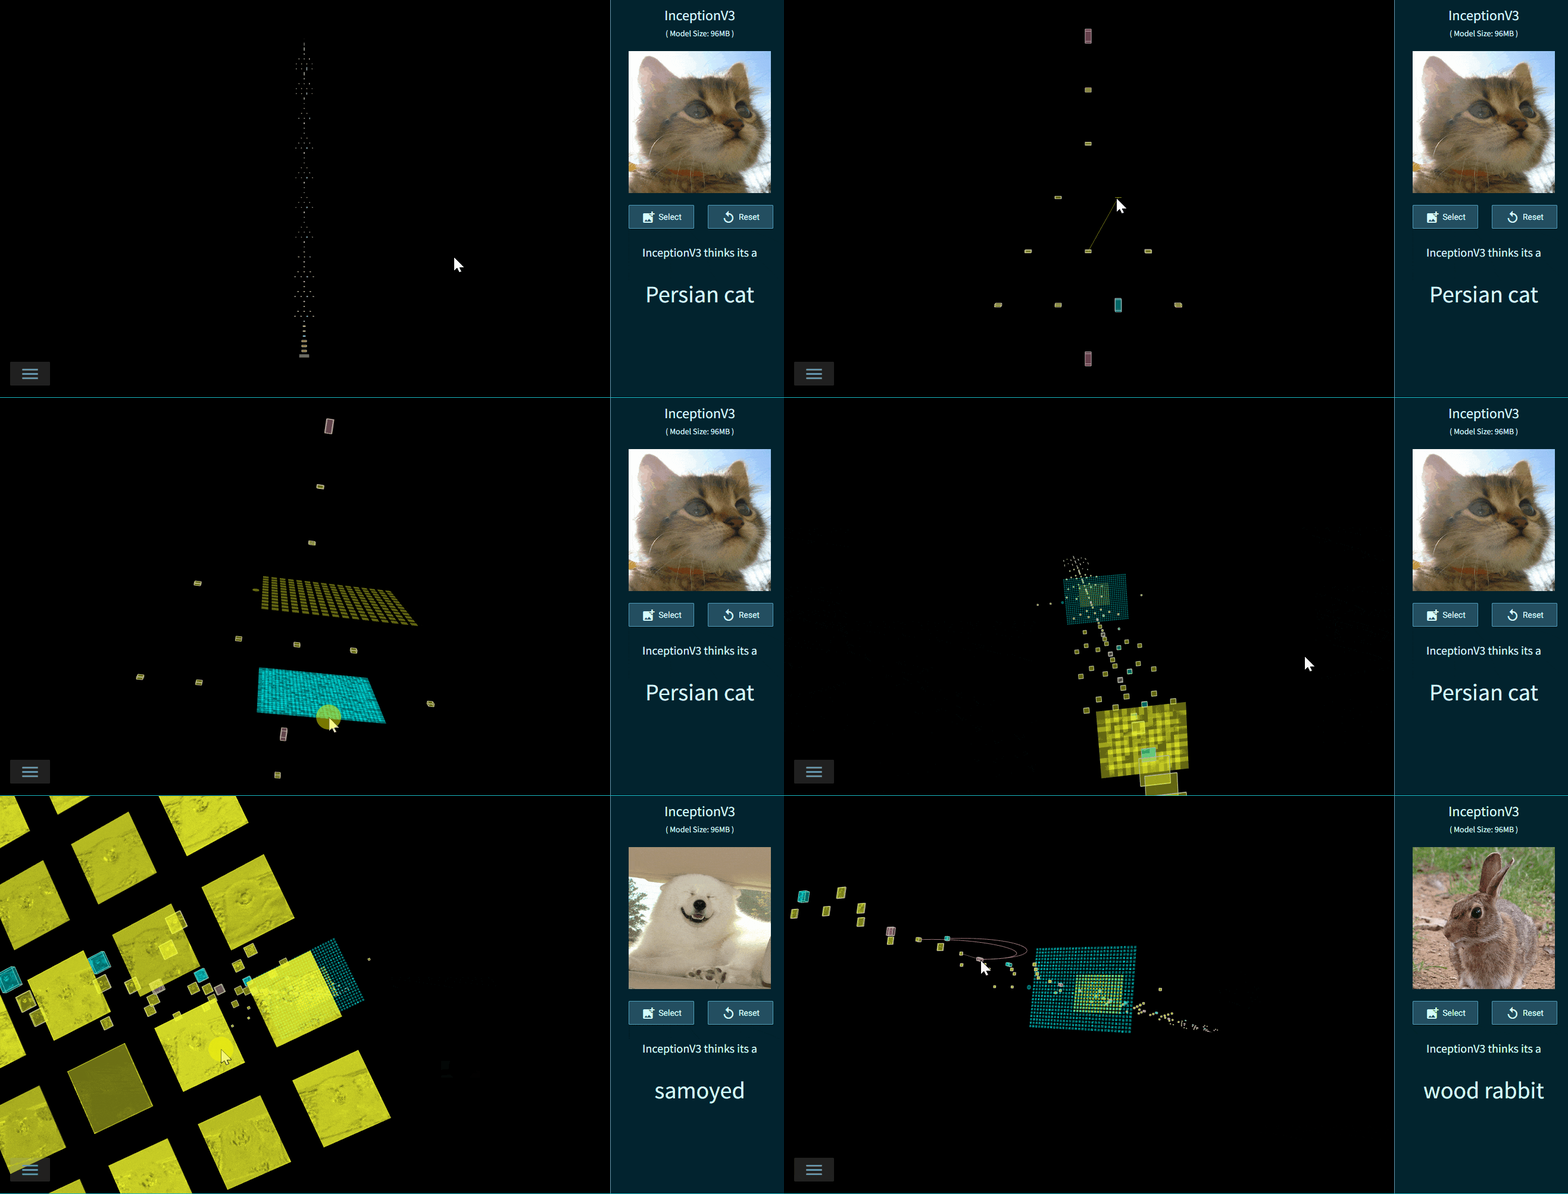
图13 - 使用 TensorSpace 构建 Inceptionv3
- LeNet训练过程3D可视化 [ TensorFlow.js 动态模型 ]
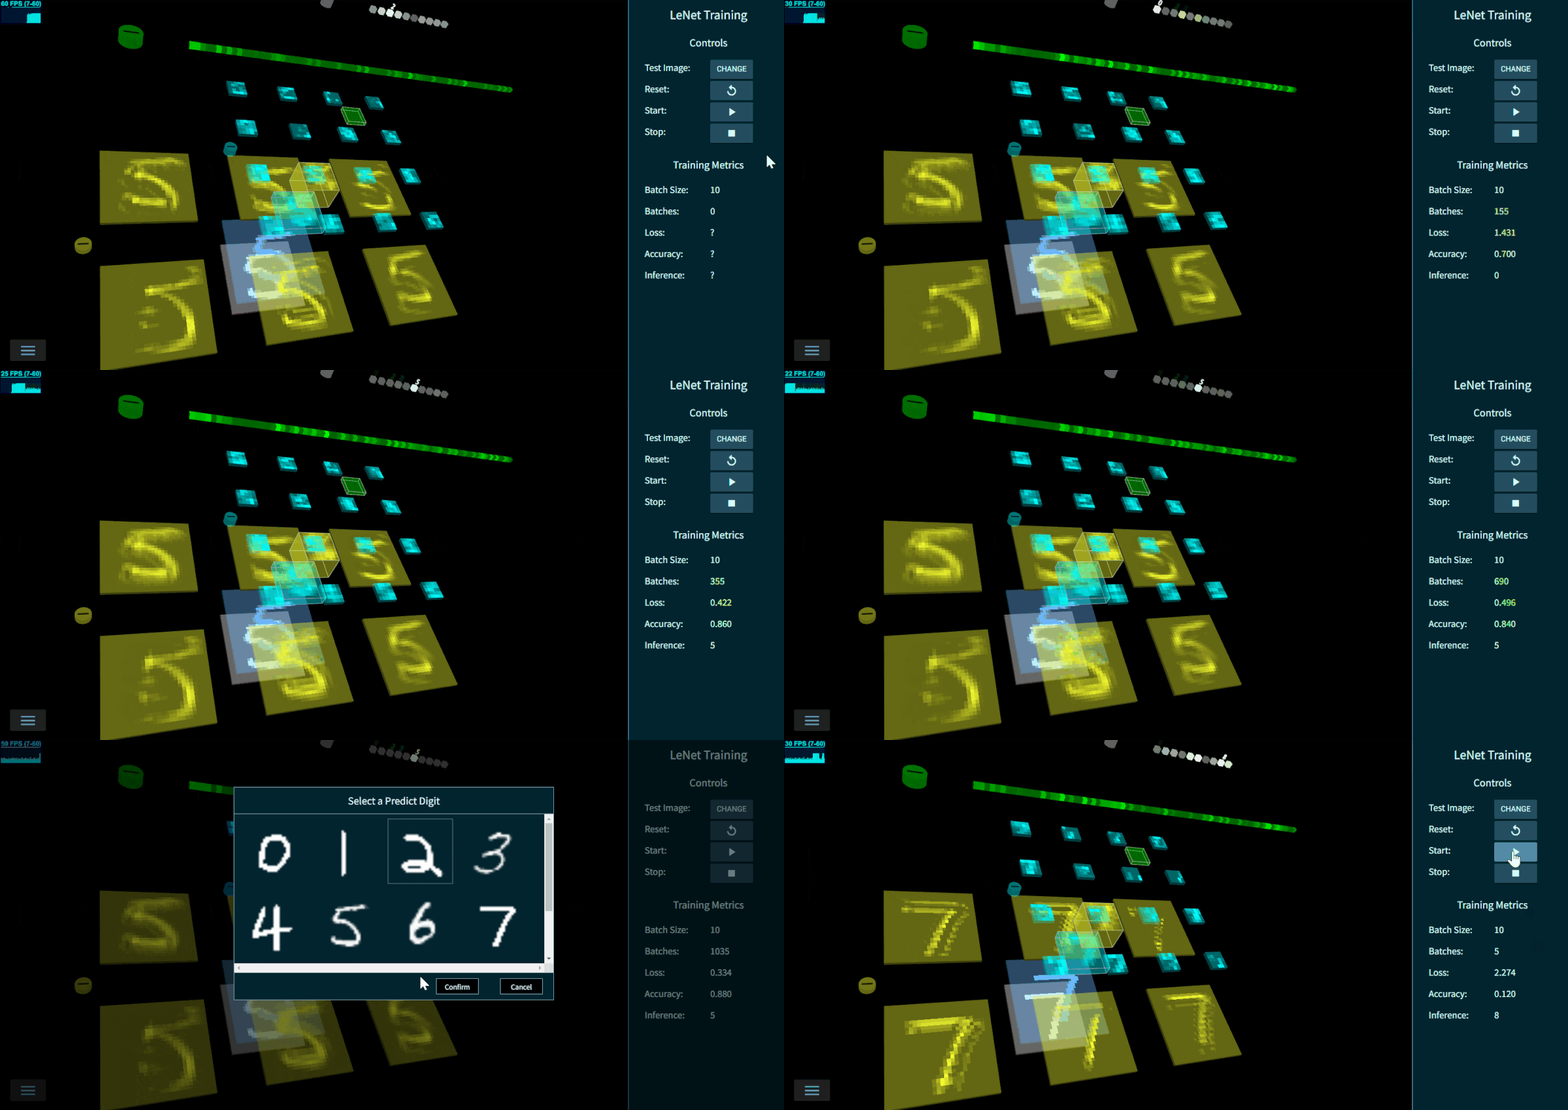
使用 TensorSpace.js 和 TensorFlow.js 将 LeNet 的训练过程在浏览器端进行3D可视化展示
图14 - LeNet训练过程3D可视化
有些模型非常大,使用官网的Playground载入非常慢。如果你想获得更好的载入速度,把TensorSpace项目拷贝到本地是一个好选择
- 第一步:
Clone项目文件夹到任意文件夹(无系统要求,这一步时间较长,大约2GB大小,都是预训练模型)
git clone https://github.com/tensorspace-team/tensorspace.git- 第二步:本地使用
WebStorm打开项目 - 第三步:打开
/examples文件夹,点选任意模型的.html文件(比如/exampes/resnet50/resnet50.html) - 第四步:点击右上角的Chrome图表在本地运行
.html文件(js和css)直接可以在本地浏览器内查看对应模型
- 迅速开始使用,参阅开始使用。
- 了解更多基本概念。
- 如何使用神经网络模型,查看模型预处理, TensorSpace-Converter。
- 了解核心组成构件:模型、网络层 以及 网络层融合。
- 希望获取更多 TensorSpace 的信息,请访问 TensorSpace 官方网站 TensorSpace.org。
TensorSpace 的所有更新日志都可以在这个文件中查看。
syt123450 💻 🎨 📖 💡 |
Chenhua Zhu 💻 🎨 ✅ 💡 |
YaoXing Liu 💻 🎨 ✅ 💡 |
Qi(Nora) 💻 🎨 |
Dylan Schiemann 📝 |
BoTime 💻 📖 💡 |
Kamidi Preetham 📖 |
|---|---|---|---|---|---|---|
Wade Penistone 📖 |
若有任何疑问,欢迎通过以下方式联系我们:
- Email: [email protected]
- GitHub Issues: create issue
- Slack: #questions
- Gitter: #Lobby
Present Neural Network in VR
图15 - TensorSpace VR Demo


